Webseiten erstellen
Thema Mobirise5
v5.9.23 BETA

Das ist nur eine Testseite
This is a test page only - go to bottom

Bootstrap 5 Komponente "Toast"

Dieses Plugin erzeugt eine Box, die sich nach wenigen Sekunden selbstständig wieder schließt oder man lässt den Mauszeiger über der Box, damit diese nicht schließt.

Zum besseren Verständnis guckt bitte auch hier bei w3schools.com und bei getbootstrap.com

Toast Header

Heute gibt es diese Neuigkeiten

Einbau der Komponente "Toast"

Die Box zur Anzeige in den "Code Editor" in den Bereich "HTML Editor":

<!-- Beginn Bootstrap "Toast" Beispiel -->
<button type="button" class="btn btn-primary" id="toastbtn">Zeige Neuigkeiten</button>
<div class="toast">
  <div class="toast-header">
    <strong class="me-auto">Toast Header</strong>
    <button type="button" class="btn-close" data-bs-dismiss="toast"></button>
  </div>
  <div class="toast-body">
    <p>Heute gibt es diese Neuigkeiten</p>
  </div>
</div>
<!-- Ende Bootstrap "Toast" Beispiel -->

Das JavaScript zur Steuerung der Komponente "Toast" in die Seiteneinstellungen in den Bereich "End of <body> code":

<!-- Script Toast Komponente -->
<script>
  document.getElementById("toastbtn").onclick = function() {
    var toastElList = [].slice.call(document.querySelectorAll('.toast'))
    var toastList = toastElList.map(function(toastEl) {
      return new bootstrap.Toast(toastEl)
    })
    toastList.forEach(toast => toast.show())
  }
</script>

Das HTML <details> Tag

Klicke auf "Das Blindtextchen" für das HTML <details> Tag, um einen Textbereich zu öffnen. Als Block-Element nimmt das <summary> Tag die gesamte, verfügbare Breite des Blocks ein und ist somit auch noch rechts neben dem Text klickbar. Gibt man also dem Block-Element noch ein zusätzliches Styling, so stellt es sich wie ein Akkordeon dar. Das zusätzliche Attribut "open" würde den Inhalts anfangs anzeigen, also dann so <details open>. Guckt Euch auch diese zusätzlichen CSS-Anweisungen an.

Das Blindtextchen


Weit hinten, hinter den Wortbergen, fern der Länder Vokalien und Konsonantien leben die Blindtexte. Abgeschieden wohnen Sie in Buchstabhausen an der Küste des Semantik, eines großen Sprachozeans. Ein kleines Bächlein namens Duden fließt durch ihren Ort und versorgt sie mit den nötigen Regelialien. Es ist ein paradiesmatisches Land, in dem einem gebratene Satzteile in den Mund fliegen.
Nicht einmal von der allmächtigen Interpunktion werden die Blindtexte beherrscht - ein geradezu unorthographisches Leben. Eines Tages aber beschloß eine kleine Zeile Blindtext, ihr Name war Lorem Ipsum, hinaus zu gehen in die weite Grammatik. Der große Oxmox riet ihr davon ab, da es dort wimmele von bösen Kommata, wilden Fragezeichen und hinterhältigen Semikoli, doch das Blindtextchen ließ sich nicht beirren. Es packte seine sieben Versalien, schob sich sein Initial in den Gürtel und machte sich auf den Weg.


Hier mein verwendetes <details> Tag, das in den "Code Editor" in den Bereich "HTML Editor" gehört:

<details>
  <summary>Das Blindtextchen</summary>
  <p>Weit hinten, hinter den Wortbergen...</p>
</details>

Hier meine verwendete CSS, die in den "Code Editor" in den Bereich "CSS Editor" gehört:

details > summary {
  color: #6592e6;
  cursor: pointer;
  font-size: 1.5rem;
}
summary:hover {
  color: #4479d9;
}
details[open] summary ~ * {
  animation: sweep 0.8s ease-in-out;
}
@keyframes sweep {
  0% {
    opacity: 0;
  }
  100% {
    opacity: 1;
  }
}
summary::marker {
  color: green;
}
details[open] summary::marker {
  color: red;
}

Akkordeon

Hier noch ein Beispiel mit dem <details> Tag, das ich selbst mehrfach untereinander gelegt habe. So entsteht ein Akkordeon. Gehe für einen Transform-Effekt mit der Maus auch über das Buch-Logo.

Akkordeon Details:

Dieses Tab steht zur Demo anfangs offen.

Das details-Element ist in allen modernen Browsern verfügbar. Das Öffnen selbst kann leider nicht mit CSS animiert werden. Deshalb wird die Höhe des div-Containers animiert.
Hierbei benötigt man aber einen festen Wert, der bei einer Veränderung des Inhalts angepasst werden muss.

Solche festen Werte sollten nach Möglichkeit vermieden werden!

Μobirise-Tutorials

Inhalt vom Tag:

<details open>
<summary> Akkordeon Details: </summary>
  <div id="inhalt1">
    <p class="mbr-text mbr-fonts-style" data-app-selector=".mbr-text" mbr-theme-style="display-7">
Dieses Tab steht <strong>zur Demo anfangs offen</strong>.<br><br>Das details-Element ist in allen modernen Browsern verfügbar. Das Öffnen selbst kann leider nicht mit CSS animiert werden. Deshalb wird die Höhe des div-Containers animiert. <br>Hierbei benötigt man aber einen festen Wert, der bei einer Veränderung des Inhalts angepasst werden muss.<br><br>Solche <strong>festen Werte</strong> sollten nach Möglichkeit vermieden werden!<br>
    </p>
  </div>
</details>

Meine CSS:

details > div {
  padding: 1.5rem;
  overflow: hidden;
}
details[open] > #inhalt1 {
  animation: sliding1 1s forwards;
}
@media (min-width: 992px) {
  @keyframes sliding1 {
    0% {
      height: 0;
    }
    100% {
      height: 275px;
    }
  }
  details[open] > #inhalt2 {
    animation: sliding2 1s forwards;
  }
  @keyframes sliding2 {
    0% {
      height: 0;
    }
    100% {
      height: 380px;
    }
  }
  details[open] > #inhalt3 {
    animation: sliding3 1s forwards;
  }
  @keyframes sliding3 {
    0% {
      height: 0;
    }
    100% {
      height: 2450px;
    }
  }
  summary::after {
    content: " 🡳 ";
    position: absolute;
    color: green;
    font-size: 1.2em;
    font-weight: bold;
    right: 1em;
    top: .2em;
    transition: all 0.5s;
  }
  details[open] summary::after {
    color: red;
    transform: scale(1, -1);
  }
}
details {
  grid-column: (2 / 3);
  transition: all 1.5s;
  border: thin solid #e2e2e2;
  background-color: #ffffff;
}
summary {
  position: relative;
  line-height: 300%;
  padding-left: 1em;
  color: #6592e6;
  cursor: pointer;
  font-size: 1.5rem;
  background-color: #eaeaea;
}
.mbr-section-title {
  color: #084d6e;
}
.mbr-section-subtitle {
  color: #353535;
}
summary::marker {
  color: green;
}
details[open] summary::marker {
  color: red;
}
code {
  font-size: 12px;
}


Wer die Tabs vom <details> Tag automatisch schließen lassen will, sodass immer nur ein Tab offen steht - wie auch in meinem Beispiel, der kann das Skript unten noch in die Seiteneinstellungen in den Bereich "End of <body> Code" kopieren:

<!-- Nur aktives Detail offen lassen -->
<script>
  // Alle Details Elemente abrufen
  const details = document.querySelectorAll("details");
  
  // OnClick Listeners
  details.forEach((targetDetail) => {
    targetDetail.addEventListener("click", () => {
      // Alle Details schließen, die nicht Ziel (targetDetail) sind
      details.forEach((detail) => {
        if (detail !== targetDetail) {
          detail.removeAttribute("open");
        }
      });
    });
  });
</script>


Bei meinem Buch-Logo habe ich noch ein Hover bei Mausüber eingebaut, um das Logo animiert zu vergrößern.

Hier mit dieser class="grow":

.grow {
  transition: all 0.5s ease-in-out;
}
.grow:hover {
  transform: scale(1.2);
}

Features

Hover Block und die einzelnen Karten und mittleren Button für Tooltip
Schmetterling
Hover this card to animate the button

Mobirise is an easy website builder. Just drop site elements to your page, add content and style it to look the way you like.

Schmetterling
Hover this card and button for Tooltip

This is also a test for Bootstrap Tooltips.
You need an extra JavaScript with Bootstrap 5 now:

Schmetterling
Hover this card to animate the button

Select the theme that suits you. Each theme in the Mobirise Website Software contains a set of unique blocks.

Bootstrap 5 Tooltips

Um einen Bootstrap 5 Tooltip hinzuzufügen müsst ihr lediglich das Tooltip-Attribut und den Titel hinzufügen:

<a href="#" class="btn element item-btn" data-bs-toggle="tooltip" title="This is a tooltip">Heartbeat animated</a>

Um die Default Farbe Schwarz vom Tooltip in "Bootstrap 5" z.B. in Rot zu ändern, habe ich folgende CSS verwendet, die aber nicht in der Block-CSS, sondern nur in der gesamten Seite wirkt. Ich habe diese also als <style> Anweisung </style> in die Seiteneinstellungen im Bereich "Inside <head> code" eingefügt. Diese CSS ist komplett anders als noch in Bootstrap 4:

<!-- Änderung Tooltip-Farbe von Default-Schwarz in Rot -->
<style>
  .tooltip-inner {
    background-color: red !important;
    color: #fff;
  }
  .tooltip.bs-tooltip-top .tooltip-arrow::before {
    border-top-color: red;
  }
  .tooltip.bs-tooltip-bottom .tooltip-arrow::before {
    border-bottom-color: red;
  }
  .tooltip.bs-tooltip-start .tooltip-arrow::before {
    border-left-color: red;
  }
  .tooltip.bs-tooltip-end .tooltip-arrow::before {
    border-right-color: red;
  }
</style>

Tooltip-Aufruf über JavaScript. Dieses Script kommt in die Seiteneinstellungen "End of <body> code":

<script>
  // Initialize tooltips
  var tooltipTriggerList = [].slice.call(document.querySelectorAll('[data-bs-toggle="tooltip"]'))
  var tooltipList = tooltipTriggerList.map(function (tooltipTriggerEl) {
    return new bootstrap.Tooltip(tooltipTriggerEl)
  })
</script>

Bootstrap 5 Popover

Das Bootstrap 5 Popover ist eine Variante des Tooltips. Hier ein Beispiel.


Klicke hier um das Popover zu öffnen  


Hier als Beispiel meine Einfügung im Code-Editor mit data-bs-html="true" zur Verwendung von HTML-Code im Popover:

<a href="javascript:void(0);" title="Bootstrap Popover Beispiel" data-bs-toggle="popover" data-bs-trigger="focus" data-bs-html="true" data-bs-content="Irgendeinen Inhalt hier schreiben.<br><a href='https://www.w3schools.com/bootstrap5/bootstrap_popover.php' target='_blank' class='text-secondary'><b>Klicke zur Popover Anleitung</b></a><br>Klicke irgendwo, um dieses Fenster zu schließen.">Klicke hier um das Popover zu öffnen:</a>

Popover-Aufruf über JavaScript. Dieses Script kommt in die Seiteneinstellungen "End of <body> code":

<script>
  // Initialize popover
  var popoverTriggerList = [].slice.call(document.querySelectorAll('[data-bs-toggle="popover"]'))
  var popoverList = popoverTriggerList.map(function (popoverTriggerEl) {
    return new bootstrap.Popover(popoverTriggerEl)
  })
</script>

Das geht natürlich auch mit einem Bild:


Mausüber für Bild vom Schmetterling  


<a href="javascript: void(0);" data-bs-toggle="popover" data-bs-trigger="hover" data-bs-placement="top" data-bs-html="true" data-bs-content="<img src='https://www.mobirise-tutorials.com/Testseiten/Testseite-Blank/images/butterfly.jpg' alt='Bild'>">Bild vom Schmetterling</a>

Button animiert in Cards:

<a class="btn element item-btn" href="javascript: void();">Learn More</a>

CSS:

.element {
  background-color: #008CBA;
  color: white;
}
.item-wrapper {
  &:hover .element {
    animation: pulse 1s infinite;
    transform: scale(1.02);
  }
}
@keyframes pulse {
  0% {
    background-color: blue;
  }
  100% {
    background-color: red;
  }
}

Herzschlag - Heartbeat


Anzeige:

<div id="mybeat"></div>

CSS:

@keyframes heartbeat {
  0% {
    transform: scale(0.75);
  }
  20% {
    transform: scale(1);
  }
  40% {
    transform: scale(0.75);
  }
  60% {
    transform: scale(1);
  }
  80% {
    transform: scale(0.75);
  }
  100% {
    transform: scale(0.75);
  }
}

#mybeat {
  position: absolute;
  margin-left: auto;
  margin-right: auto;
  left: 0;
  right: 0;
  background-color: red;
  width: 50px;
  height: 50px;
  border-radius: 50%;
  border: 1px solid #232323;
  box-shadow: 0px 0px 10px 5px rgba(0, 0, 0, 0.6);
  animation: heartbeat 1s infinite;
}

Button animiert:

<a class="btn element" href="javascript: void();">Hover me to animate</a>

CSS:

.element {
  background-color: #008CBA;
  color: white;
}
.element:hover {
  animation: pulse 1s infinite;
}
@keyframes pulse {
  0% {
    background-color: blue;
  }
  100% {
    background-color: red;
  }
}

Bitte guckt euch auch die Beispiele bei "Werner-Zenk.de" an"

Timeline

23 April 2025

Butterfly

Website Builder

This is a timeline block. Click on the blue gear icon to set the number of items in this timeline. All sites you create with the Mobirise web builder are mobile-friendly natively. No special actions required.

CSS:

img {
  border-radius: 3rem;
  outline: 1px solid white;
  outline-offset: -20px;
}
img:hover {
  outline: 2px solid red;
}

23 April 2025

Butterfly

Mobirise Kit

This is a timeline block. Click on the blue gear icon to set the number of items in this timeline. All sites you create with the Mobirise web builder are mobile-friendly natively. No special actions required.

CSS:

.bild2 {
  border-radius: 3rem 3rem 25% 3rem;
  outline: 1px solid white;
  outline-offset: -20px;
}
img:hover {
  outline: 2px solid red;
}

23 April 2025

Butterfly

Form Builder

This is a timeline block. Click on the blue gear icon to set the number of items in this timeline. Select the theme that suits you. Each theme in the Mobirise site builder contains a set of unique blocks.

CSS:

img {
  border-radius: 3rem;
  outline: 1px solid white;
  outline-offset: -20px;
}
img:hover {
  outline: 2px solid red;
}

Tabs

Open tabs fixed with v5.8.15 BETA.
Fix needed that Navigation-Sub-Menu on smarthone will not open on click of tabs.

Mobirise is a free offline app for Windows and Mac to easily create small/medium websites, landing pages, online resumes and portfolios. 3100+ beautiful website blocks, templates and themes help you to start easily.

Mobile web traffic overtook desktop one in 2016 and will only grow, and that's why it's important to create websites that look good on all devices. No special actions required, all sites you make with the Builder are mobile-friendly. You don't have to create a special mobile version of your website, it will adapt automagically.

Mobirise is an easy and simple free website builder - just drop site elements to your page, add content and style it to look the way you like.

Free Website Builder offers a huge collection of 2500+ website blocks, templates and themes with thousands flexible options. Combine blocks from different themes to create a unique mix.

FAQ - Bug when opening a tab v5.8.5 BETA - the icon is displayed incorrectly.

SchmetterlingLorem ipsum dolor sit amet, consectetur adipiscing elit. Pellentesque nec purus ut massa hendrerit fringilla luctus mattis diam. Integer mollis sollicitudin tincidunt.
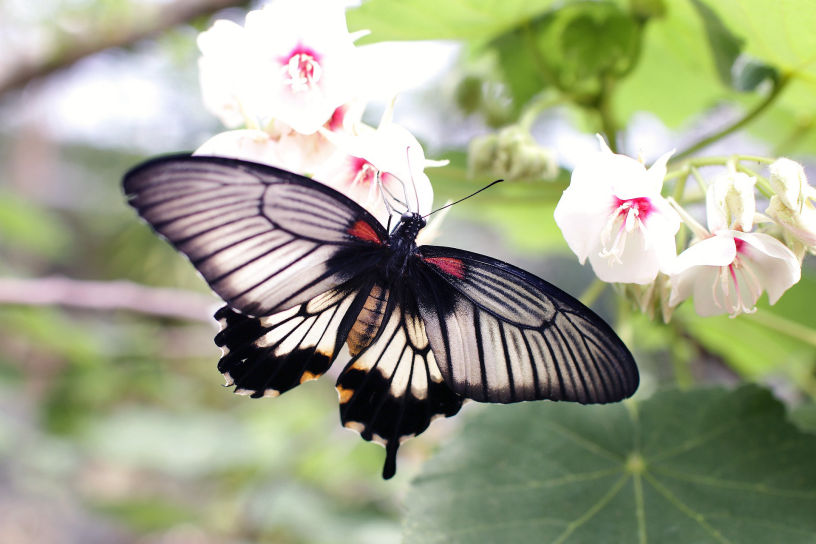

SchmetterlingLorem ipsum dolor sit amet, consectetur adipiscing elit. Pellentesque nec purus ut massa hendrerit fringilla luctus mattis diam. Integer mollis sollicitudin tincidunt.
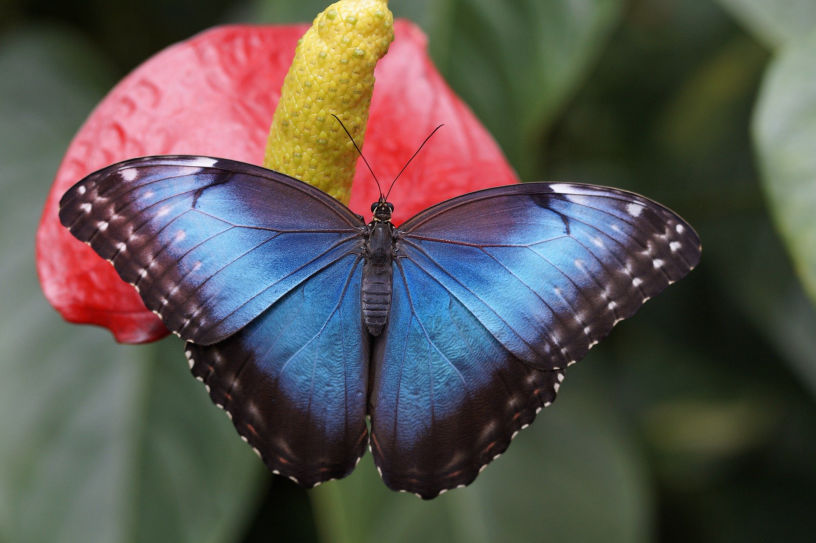
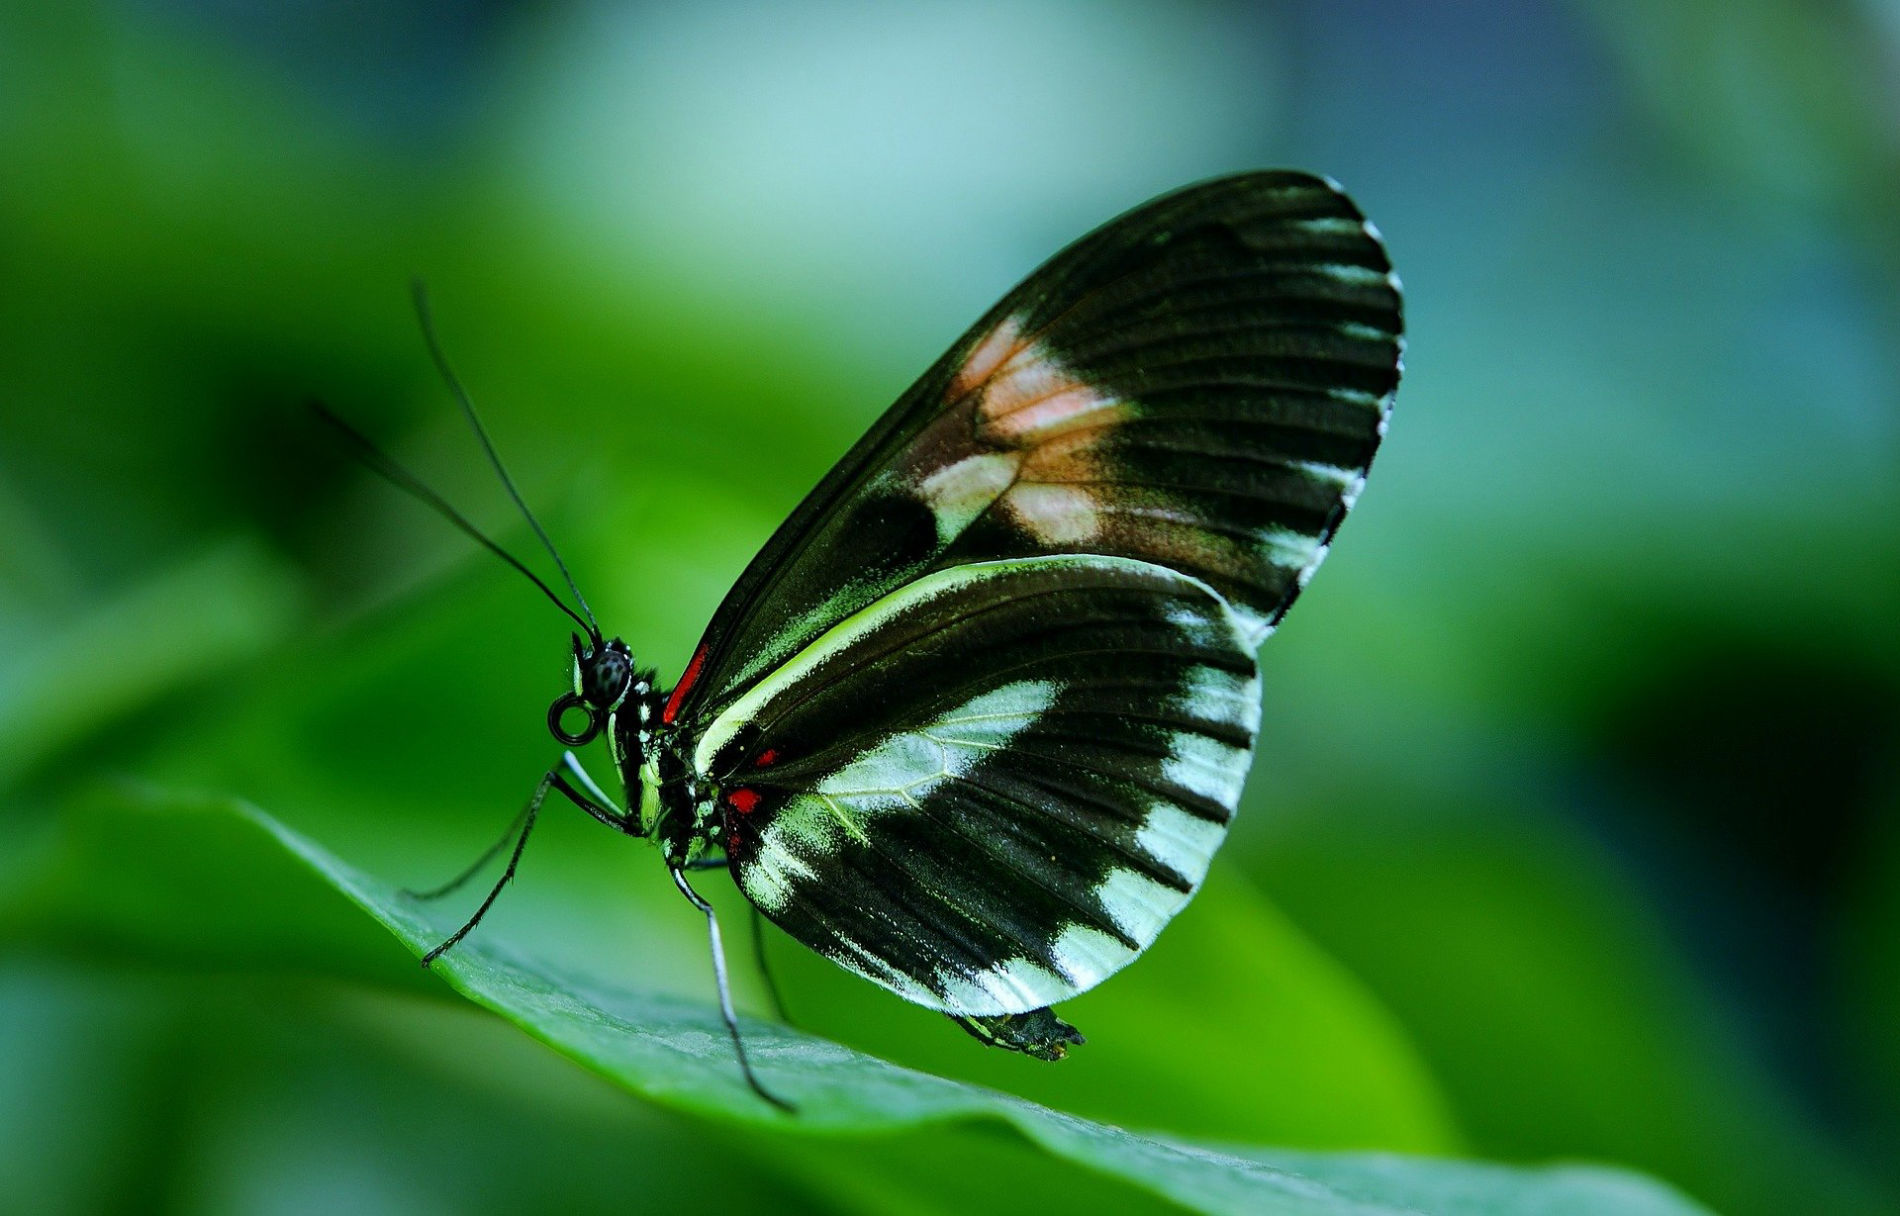
Lorem ipsum dolor sit amet, consectetur adipiscing elit. Pellentesque nec purus ut massa hendrerit fringilla luctus mattis diam. Integer mollis sollicitudin tincidunt.

Lorem ipsum dolor sit amet, consectetur adipiscing elit. Pellentesque nec purus ut massa hendrerit fringilla luctus mattis diam. Integer mollis sollicitudin tincidunt.

Lorem ipsum dolor sit amet, consectetur adipiscing elit. Pellentesque nec purus ut massa hendrerit fringilla luctus mattis diam. Integer mollis sollicitudin tincidunt.

Lorem ipsum dolor sit amet, consectetur adipiscing elit. Pellentesque nec purus ut massa hendrerit fringilla luctus mattis diam. Integer mollis sollicitudin tincidunt.

Reveal Effect has been fixed for standard theme Mobirise 5
© Copyright Mobirise-Tutorials